
How to Start Restoring Your First Classic Car: Beginner’s Guide
You want to bring a classic back to life without turning it into a money pit. This short guide shows how to plan and inspect before you buy, judge rust, body, and frame, check parts availability and model value, set a smart budget and timeline, list costs for parts, tools, and labor, build a first-steps checklist, set up a beginner shop, find and verify parts, and learn basic bodywork and engine fixes so you can start with confidence. Use this How to Start Restoring Your First Classic Car: Beginner’s Guide as your practical roadmap.
Key Takeaway
- Choose a solid, simple classic you love and can afford
- Set a realistic budget and timeline with a contingency
- Learn basic tools and skills so you can do work yourself
- Find parts sources and a mentor or mechanic to help you
- Start with rust repair and engine basics to build confidence
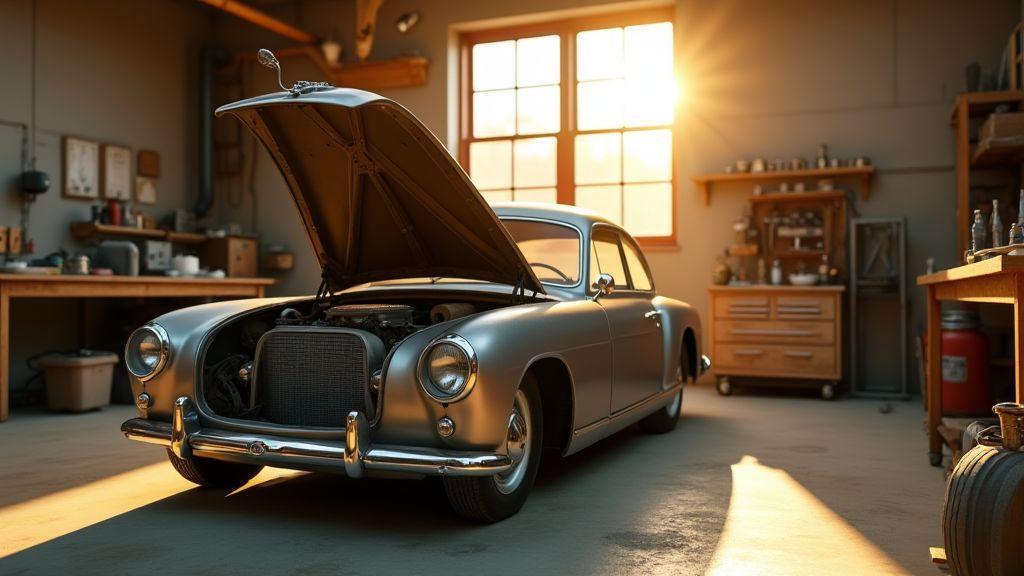
How to Start Restoring Your First Classic Car: Beginner’s Guide — Plan and Inspect Before You Buy
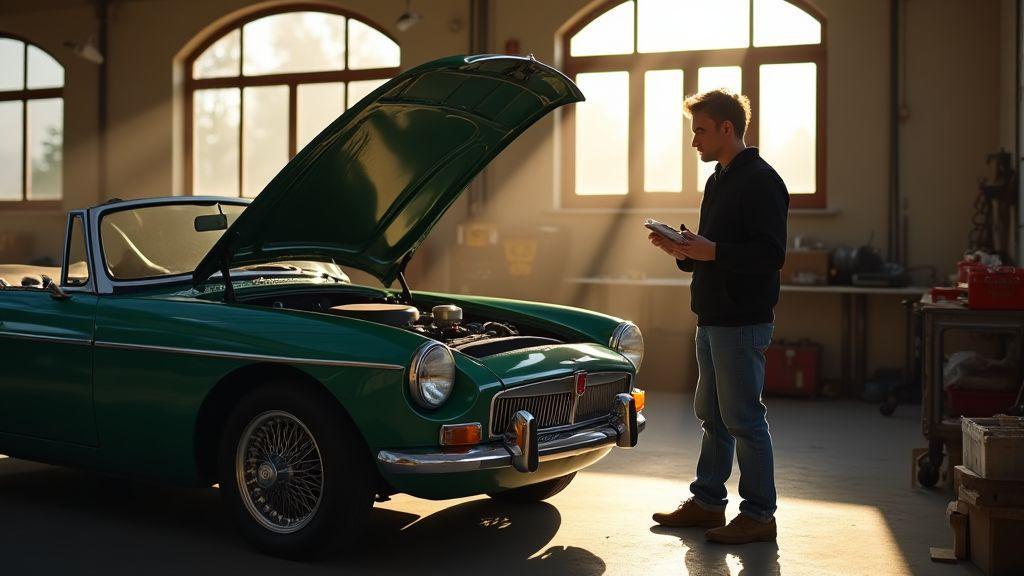
Start by setting a clear budget for purchase, parts, and labor, and decide how much you’ll do yourself. Think about space, tools, and time. Inspect the car from hood to trunk like a detective: check the title and history, look for frame damage, rust holes, mismatched panels, and odd paint lines. Pop the hood, smell for coolant or fuel, crank the engine if possible, and take a short drive. Bring a flashlight and a magnet to spot filler or hidden patches. Also, Check title and history with NMVTIS before you finalize a purchase.
Decide your walk-away thresholds: severe frame rot, missing rare parts, or a stolen title are red flags. Factor shop-level welding or alignment into negotiations and back offers with a list of defects and rough labor estimates. If you’re unsure about safety recalls or defects that could affect the restoration, Search vehicle recalls and defect notices to inform priorities.
How you assess rust, body, and frame condition
Learn the types of rust: surface, scale, and penetrating. Inspect under carpets, behind trim, inside wheel wells, trunk floors, rocker panels, and under the battery tray. Probe suspect spots with a screwdriver and use a flashlight to check seams. Examine frame and suspension mounts for odd welds, patch panels, flexing, or bends — these raise repair and safety costs dramatically.
Check parts availability and model value before you commit
Research parts via forums, parts catalogs, and salvage yards. Some classics have plentiful repro parts; others require rare NOS or fabrication. Use auction results, Hagerty guides, and listings to estimate market value for the model and condition. Decide whether you’re restoring for profit, nostalgia, or daily driving — that choice changes your priorities for numbers-matching parts and documentation.
Create your restoring-your-first-classic-car checklist
Title and history check (verify sale terms and documentation via sale terms and documentation), realistic budget with a buffer, workspace and basic tools, safety gear, rust/frame inspection, engine/transmission assessment, parts availability list with vendors, estimated labor hours, timeline and milestones, a contact list for a mechanic, welder, or electrical specialist (local specialist contacts), photos and documentation, and a clear walk-away threshold.
Budget classic car restoration guide: estimate costs and set a timeline
List needs (engine, brakes, body, interior, glass, small parts) and assign low/medium/high estimates. Price parts from multiple suppliers and add labor hours or shop rates. Always include at least 20% contingency for hidden problems. Compare similar restorations online to set expectations: a driver-quality job is far cheaper than concours.
How you list costs for parts, tools, and labor
Break costs into parts, tools, and labor. Price parts from two or three suppliers. Buy only essential tools at first—torque wrench, jack stands, sockets—and rent specialty items. Estimate labor hours per task and add time for learning. Total each column and add 20–30% contingency.
Set a realistic timeline with small milestones
Split the project into phases: assessment, mechanical, body, paint, interior, final tuning. Assign deadlines, include buffer days, and set weekly or biweekly goals. A driver restoration might take a few months of steady weekends; a full show build could take a year or more. Track progress with photos and notes.
First classic car restoration steps for a simple budget plan
Prioritize safety items first (brakes, tires, steering), then engine/driveline, then body and interior. Buy or borrow critical tools, order common wear parts in pairs, and set an emergency fund. Remove seats and trim early to access rust and wiring.
Classic car restoration tools list and beginner shop setup
Pick a dry, well-lit space with room to walk around the car. Have a sturdy workbench, floor jack and quality jack stands, a creeper, and bright lights. Store tools in a chest or rolling cart; use pegboards and clear bins for small parts. Stock consumables: shop towels, penetrating oil, brake cleaner, wire brushes, gaskets, and sealants. Buy quality sockets and a torque wrench first; add welding gear, engine hoist, or media blaster as needed.
Essential hand tools and safety gear
Combination wrenches (metric and SAE), a complete socket set, ratchets, breaker bar, torque wrench, screwdrivers, pliers, punches, hammer, and rubber mallet. Safety gear: safety glasses, work gloves, ear protection, NIOSH-rated respirator for paint/grinding, first-aid kit, and a fire extinguisher.
Small power tools and specialty items for body and engine work
Drill, cordless impact, angle grinder, orbital sander, small air compressor, MIG welder (or rental), engine hoist, parts washer, compression tester, timing light, and vacuum gauge. Rent expensive items if possible.
How to organize your tools for classic car restoration for beginners
Organize by task and frequency: hand tools on a pegboard, power tools on lower shelves, consumables in labeled clear bins. Use a rolling cart during work and spend five minutes at session end to tidy and note missing items.
Finding parts for classic cars: sources and verification
Make a lean parts list with part numbers, model years, and variations. Use salvage yards, swap meets, online sellers, and club networks. Track prices and set alerts. Keep receipts, photos, and seller notes, and be mindful of site privacy practices (privacy practices). Budget for shipping, restoration, or multiple attempts — patience beats impulse buys.
Use salvage yards, online sellers, and clubs for parts
Walk salvage lots with a flashlight and gloves; bring a socket set and zip ties. Online: eBay, Facebook Marketplace, forums, and specialty sites. Join clubs and post want-ads. Swap meets are great for bargains and connections.
How you verify fitment, numbers, and part condition
Compare casting and part numbers, measure bolt spacing and flange sizes, and consult factory manuals or parts catalogs. Request close-up photos, inspect for cracks, repairs, pitting, or welded patches, and confirm return policies for core items.
Beginner classic car restoration tips for sourcing rare parts
Post needs on forums and club newsletters, set alerts, network with local restorers, and consider reproduction parts or a donor car. Relationships and persistence pay off.
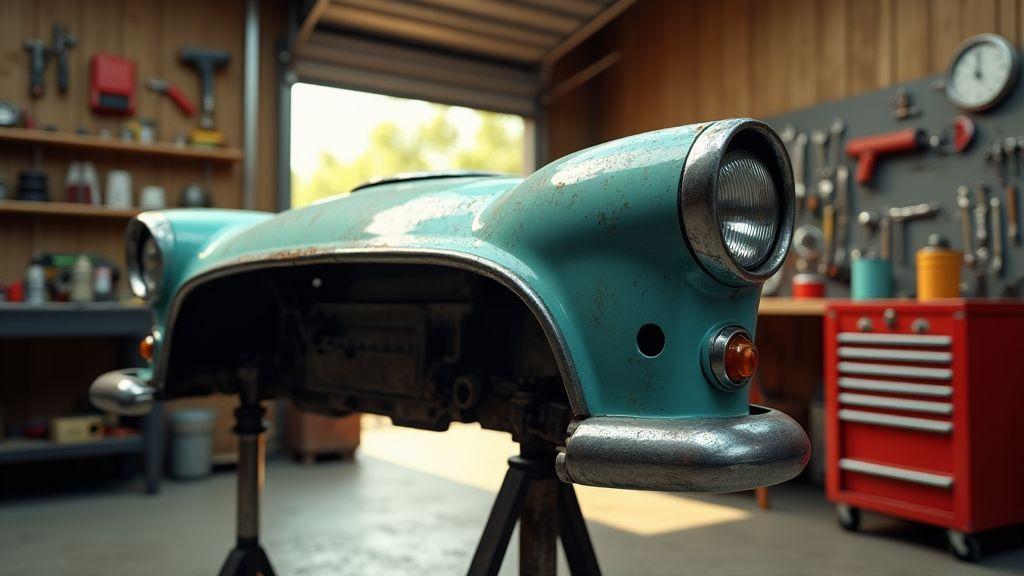
Bodywork and rust repair basics you should learn first
Treat rust early. Distinguish surface rust from deep rot. Use a wire brush, angle grinder, sandpaper, rust converter, and a respirator. Practice cutting, fitting, and welding on scrap metal before working on the car, and review Welding and cutting safety for restorers to understand hazards and PPE.
How you spot common rust areas and measure damage
Check wheel arches, sills, floor pans, trunk corners, rocker panels, under trim, and around drain holes. Press and tap suspect spots; rotten metal sounds dull. Mark and measure holes to decide patching vs full-panel replacement.
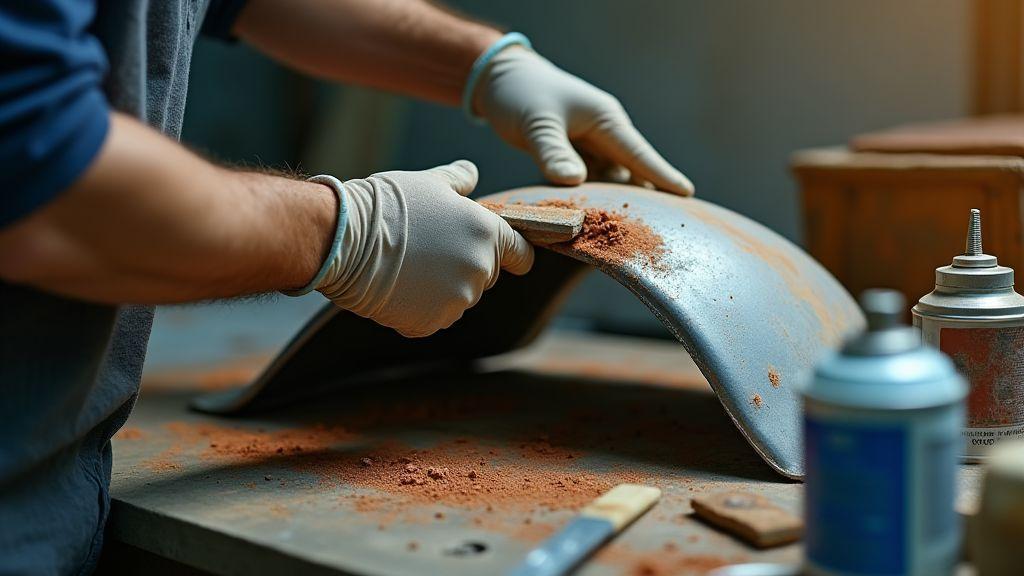
Safe metal repair methods, welding basics, and filler use
Cut out bad metal to solid metal, fit patch panels with slight overlap, tack to avoid warping, and keep weld runs short. Use body filler only on sound metal, apply thin layers, sand between coats, and finish with primer. Wear a respirator when sanding; consult Respirator selection and respiratory protection guidance to choose the right filter and fit.
First classic car restoration steps for common rust spots
For wheel arches and sills, cut and patch to match the curve, tack, grind, and blend with thin filler. For floors and trunk pans, replace full panels if rust is extensive; patch small holes from underneath and seal seams. Reinforce jacking points if thinning is present and protect repaired areas with primer and undercoating.
Engine rebuild basics for classic cars and simple mechanical steps
Start with a visual inspection: valve cover off, check for sludge, smell the oil, photograph and label everything. Strip to the block, clean, measure bores and journals, and replace bearings, rings, and gaskets as needed. Budget machine work if required. Reassemble to factory torque specs and follow a break-in routine.
How you assess engine health with compression and leak checks
Do a compression test for consistent readings across cylinders. Use a leak-down test to pinpoint intake, ring, or head-gasket issues. Combine these with oil and coolant checks for the full picture; read about How compression and leak-down tests work to understand test interpretation.
When to rebuild the engine vs. replace parts or tune up
A tune-up (plugs, wires, filters, carb cleaning, timing) can revive many cars. Rebuild when multiple cylinders have low compression, metal in oil, noisy bearings, or scored bores. Sometimes a short- or long-block swap is cost-effective.
Classic car restoration for beginners checklist for engine work
Service manual, socket set, torque wrench, compression and leak-down gauges, micrometer, feeler gauges, piston ring compressor, gasket/seal kits, new bearings, solvent, labels, parts trays, fresh oil/filters, new hoses/belts, safety gear, and clear workspace.
Conclusion
This How to Start Restoring Your First Classic Car: Beginner’s Guide gives you the essentials: plan and inspect before you buy, read rust and frame condition, verify parts and model value, set a realistic budget and timeline, and list parts, tools, and labor. Equip a basic shop, prioritize safety, learn core bodywork and engine skills, and build momentum with small wins. Ask for help from a mentor or mechanic, keep photos and notes, and expect surprises. Stick to the basics — plan, inspect, prioritize safety, and budget for the unexpected — and you’ll move from intimidated to confident.
Ready for more? Explore additional guides and project examples on the Meridian Pioneer home page.