7 Common Mistakes to Avoid When Restoring Classic Cars — you’ll learn why rust hides under panels and seams, why wrong or non‑original parts cut value, how overrestoration and bad paint kill authenticity, why skipping documentation wrecks resale trust, how you can underestimate costs, and why poor wiring and rebuilds risk safety, all in short, practical tips you can use right away.
Key Takeaway
- You don’t plan and overspend.
- You use wrong or cheap parts.
- You ignore rust until it’s bad.
- You rush paint and lose the original look.
- You skip tests and miss safety problems.

You Ignore Rust Damage and Miss Early Signs
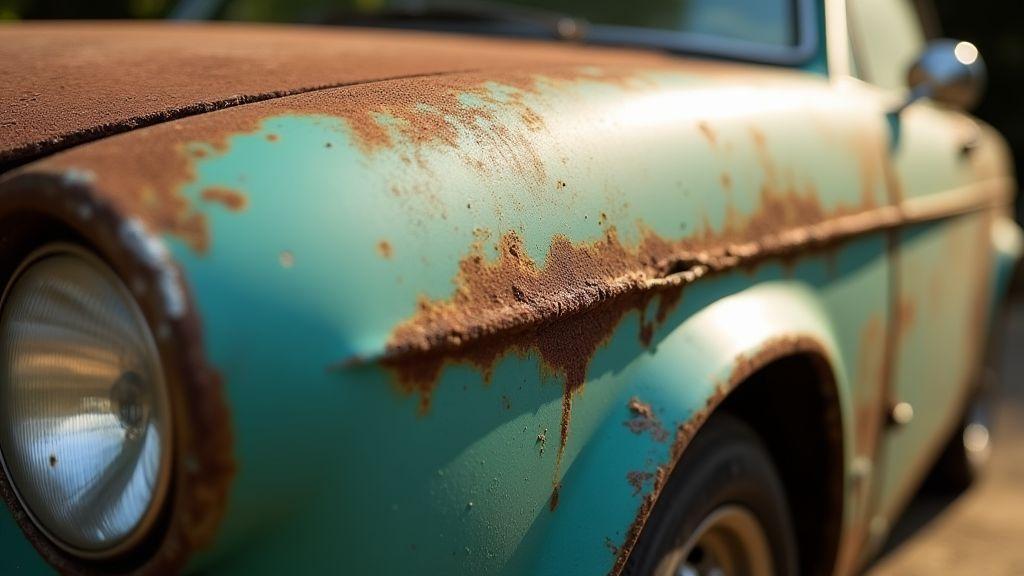
You can be proud of a clean paint job and still miss the rot that lives out of sight. Rust often starts where metal meets metal, in tight seams and behind trim. If you skip quick checks, that small orange speck will spread, and suddenly your floor pans or lower fenders look like Swiss cheese.
Missing early signs feels harmless at first. You shrug at a tiny bubble in the paint or a wet smell in the trunk and tell yourself you’ll get to it next weekend. That next weekend becomes months, and the fix changes from a dab of filler to cutting out panels and welding in new metal.
You owe it to your car and your wallet to catch rust early. A few minutes with a flashlight, a pry bar, and a mirror can save you hundreds or thousands of dollars. Ignore it and the bill grows fast.
How rust spreads under panels and seams
Rust loves trapped moisture. When rain, road salt, or condensation gets into seams, it sits there. Paint cracks, bare metal reacts, and corrosion crawls along welds and seams like ink into paper. Once behind a panel, surface rust may look small while hidden damage is extensive. For a technical overview of how corrosion works and practical prevention you can apply to seams and coatings, see basic causes and prevention of corrosion.
Why ignoring rust damage raises repair bills
Tiny rust spots are cheap to fix. Structural corrosion means cutting, replacing rails, welding, and aligning panels — labor and parts stack up fast. Beyond cost, visible repairs reduce buyer confidence and lower resale value.
Inspect floors, frame, and seams often
Check floors, frame rails, and seams during every wash and before long trips. Lift carpets, shine a bright light into wheel wells, tap suspect spots with a screwdriver to hear dead metal, and watch for paint bubbles or brown stains along joints.
You Use Incorrect or Non‑Original Parts and Hurt Value
When you fit the wrong part, buyers see it right away. A swapped carburetor, an aftermarket grille, or a non‑matching engine tag can shout “modified” and shave thousands off the price. Collectors pay for original stories—matching numbers, factory colors, and parts that line up with the build sheet.
Wrong parts break the chain of provenance. If your car once had a specific Bosch distributor or an OEM exhaust and you replace it with a generic item, the history is fragmented. Keep removed originals, label everything, and get receipts. If a part must be replaced, match part numbers or source NOS/OEM gear to keep value and the story intact. For practical collector best practices on provenance, documentation, and authenticity, consult the collector guidance on documentation and authenticity.
How using incorrect or non-original parts affects provenance
Provenance is the paper trail and physical clues that tell a car’s life story. Mismatched paint codes, swapped badges, or a later-model transmission can trigger doubt and reduce offers. Keep the story tight and verifiable.
Overrestoration leading to value loss and how to avoid it
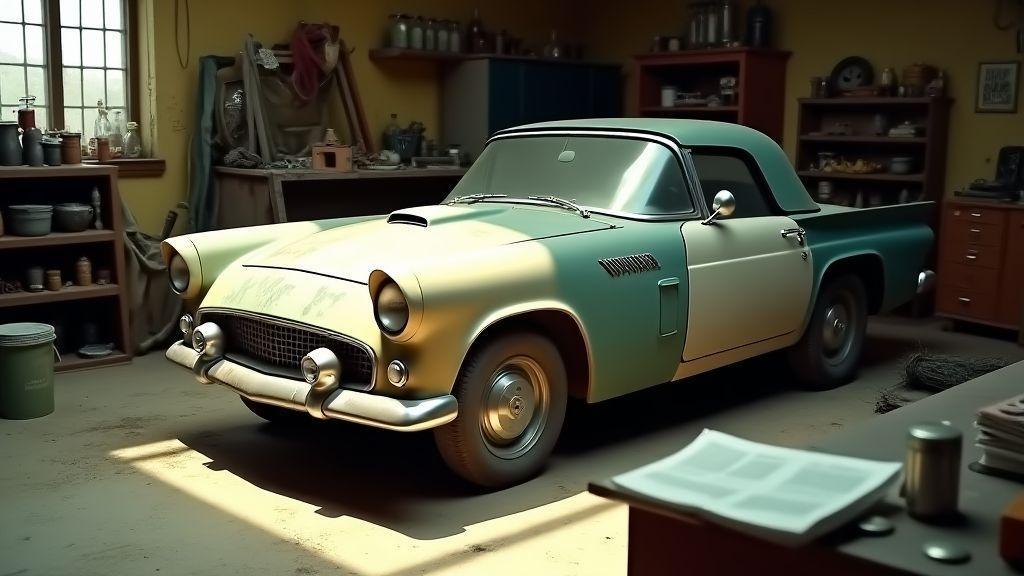
Overrestoration happens when you scrub away the car’s history to make it look new. Some cars sell better with a little patina; stripping that away can cost more than you gain. Ask: will this change improve the car or erase its past? Do small, reversible repairs first and document every choice.
Keep part numbers and source OEM or NOS parts
Write down part numbers, keep original tags, and hunt for OEM or NOS parts when possible. Match parts to the VIN and build sheet, and keep photos and receipts.

You Do Improper Paint and Finish Restoration
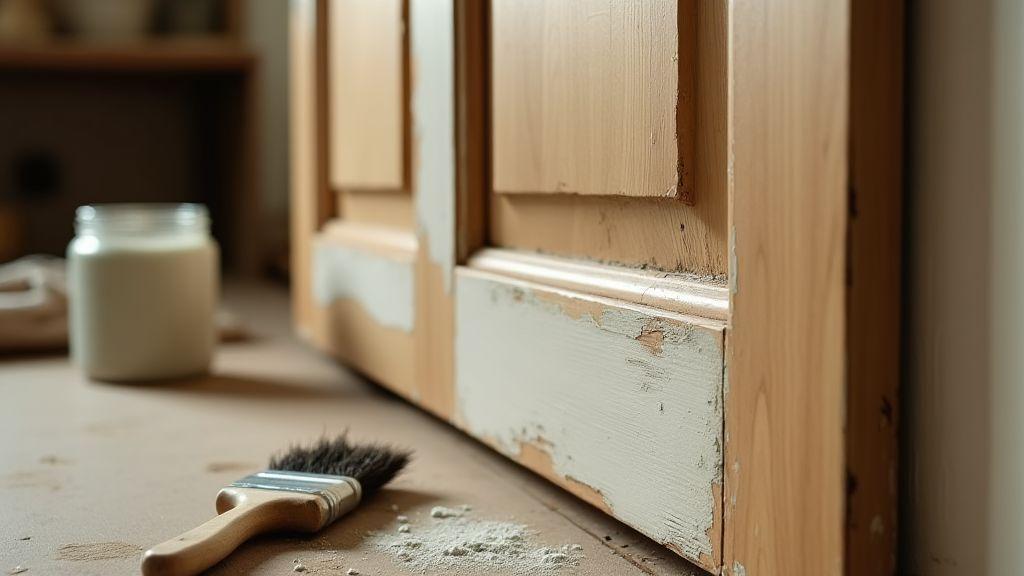
Bad paint can kill a restoration faster than rust. If you rush the prep, skip the right primer, or use the wrong coating, the finish will flake, haze, or show waves. You can spend months rebuilding an engine only to wreck the look with a rushed spray job.
A wrong finish wrecks value and trust. Buyers and judges notice mismatched gloss, orange peel, or a color that reads off under sunlight. You want the car to look like it rolled out of the factory line, not like it was painted in a garage on a Sunday afternoon.
Matching factory colors and methods to stay authentic
Start with the factory code on the cowl tag, door jamb, or build sheet. That code points to an exact mix and a finish type—lacquer, enamel, or urethane. Match application methods too; some classics used hand-sprayed lacquer with a soft sheen, others multi-stage basecoat/clear. For conservation-minded testing and matching of historic finishes, see the Smithsonian’s conservation guidance for historic finishes.
Avoid common classic car restoration mistakes with paint work
Skips like poor prep, wrong thinner, ignoring temperature/humidity, and poor masking create runs, adhesion problems, or faded panels. Match grain and gloss across panels; blend adjacent parts and feather edges. If you can’t do that, hire a pro for critical steps.
Test panels and follow original finish specs
Spray a test panel using the exact mix, gun, and environment. Check how it dries, sands, and looks in sunlight. Use original thickness and curing specs when possible.
You Skip Documentation and Lose Provenance
If you skip paperwork, you lose the story your car tells. Buyers pay for proof. A matching-numbers engine, a period-correct carburetor, or a rare trim tag means more when you can show receipts and photos. Without proof, your car is a stranger at a reunion.
Paperwork is value in ink. Even a single invoice showing a NOS part and who installed it can raise bids. Keep the paper and the photos; they turn skepticism into trust.
Why skipping documentation lowers resale trust
Buyers assume the worst without records—swapped engines, rebuilt odometers, or hidden rust repairs. Documentation shortens the list of questions and often brings higher offers.
What records to save: invoices, photos, and tags
Save every invoice and receipt. Photograph serial numbers, casting marks, dash tags, and connectors. Date the photos and store them in folders named by year and task. Keep digital backups and a printed packet; review the site’s privacy policy for secure storage practices.
Start a dated restoration log you update every session
Use a one-page dated log for each work session: date, hours, parts used, part numbers, who did the job, one photo, and a one-line note. Back up to the cloud and a printed binder, and when you share photos or documents publicly, check the site’s terms of use for guidance.

7 Common Mistakes to Avoid When Restoring Classic Cars: You Underestimate Costs
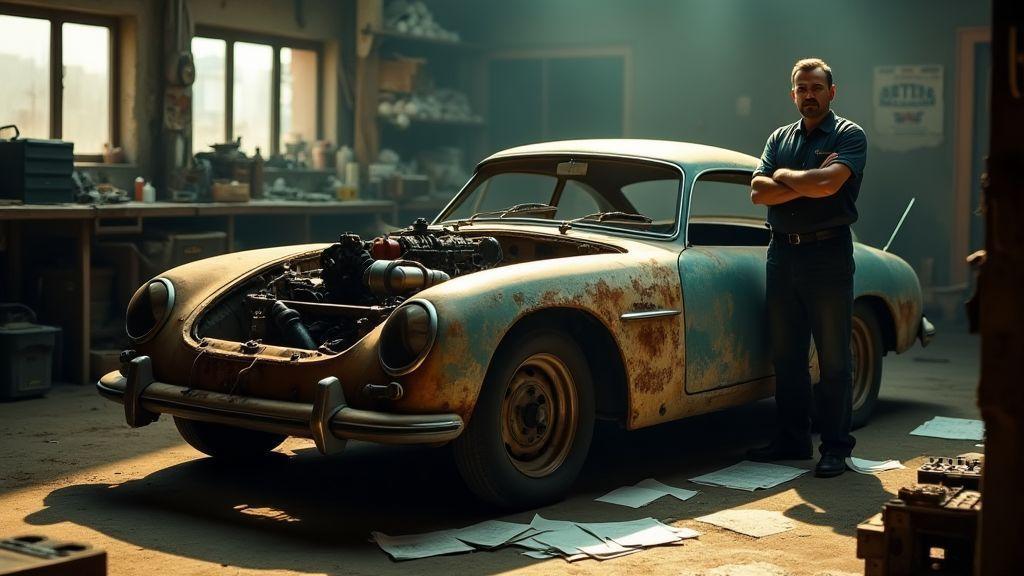
You get a clean photo and the price looks like a steal. You picture weekend wrenching and cruise nights. Then parts arrive late, shop time stacks up, and rotten metal shows up under the trunk mat. If you don’t set a clear budget and stick to it, the project eats your time and money.
List every likely cost before you sign or tow the car home: parts, labor, shipping, paint, tires, and registration. Add a line for small surprises — they add up. Treat the budget like a living document and update it weekly.
Typical cost drivers: parts, labor, and hidden rust
Reproduction parts can be fine, but some panels and chrome still come from specialty suppliers or need custom work. Bodywork and paint cost more per hour than most mechanical work. Hidden rust can double the bill — always assume there’s more than meets the eye.
Plan for delays and add a 20–30% contingency
Pad your timeline and add 20–30% to your initial estimate. If you budget $10,000, plan for $12,000–$13,000. Treat the contingency as untouchable unless necessary. For a practical budgeting framework and advice on contingency planning you can adapt to restoration projects, review the SBA’s guidance on budget planning and contingency for projects.
Get written quotes and update your budget often
Get itemized, written quotes for every big job and part. Ask shops to list labor hours, paint coats, and materials. Keep quotes with receipts and update your budget whenever something changes.
You Risk Safety with Poor Wiring and Incorrect Mechanical Rebuilds
Bad wiring and sloppy mechanical work turn vintage charm into a danger zone. Wrong-gauge wires, corroded connectors, or exposed splices can short near fuel or exhaust and start a fire. A botched engine or transmission rebuild can seize or fail catastrophically on the road.
These failure modes feed each other: a short that knocks out a cooling fan can cook an engine; a thrown bearing can send metal that severs wiring. Fix wiring and mechanical work to the same high standard. For official safety standards, recall information, and guidance on addressing electrical hazards, consult the official vehicle safety and recall guidance.
Common wiring faults and why poor electrical repairs are risky
Typical mistakes: chewed insulation, exposed crimp connectors, thin wire for high-current circuits, poor grounds, and brittle loom. Shorts can melt fuse boxes or start fires. Bad grounds cause odd electrical behavior. Fix wiring right to eliminate big risks.
Signs of incorrect mechanical rebuilds in engines and transmissions
Listen for knocks, taps, or whining after a rebuild. Check oil for metal flakes, monitor oil pressure, and watch for smoking on startup. If shifting is harsh or the gearbox slips, stop and inspect. Run compression, leak-down, and oil-pressure tests to catch issues early.
Test electrical systems and drivetrain with proper tools
Use a digital multimeter, clamp ammeter, compression gauge, leak-down tester, torque wrench, and borescope. Test wiring under load, check voltage drop on long runs, and compare compression numbers to factory specs. If any number is off, fix it before you drive.
How to Use This Checklist
Treat 7 Common Mistakes to Avoid When Restoring Classic Cars as a living checklist: inspect for rust every wash, catalog parts and receipts, test and match paint to factory specs, log every session, build a realistic budget with contingency, and verify wiring and rebuilds with proper tools or a qualified shop. Use the list before you buy and throughout the project to avoid costly backtracking. If a job is outside your skill set, reach out and contact Meridian Pioneer or a trusted specialist for advice or referrals.
Conclusion
You’ve just walked through the seven big traps: rust, wrong parts, sloppy paint, lost documentation, underestimated costs, and risky wiring that threatens safety. Don’t let a tiny bubble or a cheap swap turn your pride-and-joy into a money pit.
Catch problems early. Test and document everything. Match parts and finishes to the build sheet. Respect wiring and torque specs. Budget with a 20–30% cushion. Small, steady choices protect value and keep the car on the road.
Think of your restoration like a long road trip: plan the route, pack spare parts, and know when to hand the wheel to a pro. Do that, and you keep the story — and the resale value — intact.
For more practical, no-nonsense tips and guides, visit the Meridian Pioneer home page.

