

How to Store a Classic Car Properly (Long-Term Guide)
How to Store a Classic Car Properly (Long-Term Guide) helps you protect your pride and avoid costly repairs. Start with smart prep: wash, dry, and wax to stop dirt and salt; clean the interior and remove food to prevent mold; pick the right car cover and control moisture with a dehumidifier or silica. Use rust inhibitors and check ventilation. Keep your battery healthy with a smart charger or remove it. Care for tires and suspension, stabilize fuel, change fluids, and lock down security and pest control. Make a simple inspection checklist you will follow.
Key Takeaway
- Wash and wax your classic car before storage
- Fill the tank and add fuel stabilizer
- Disconnect the battery or use a maintainer
- Put the car on jack stands or move it periodically to prevent flat spots
- Cover your car and keep it in a dry, well-ventilated place
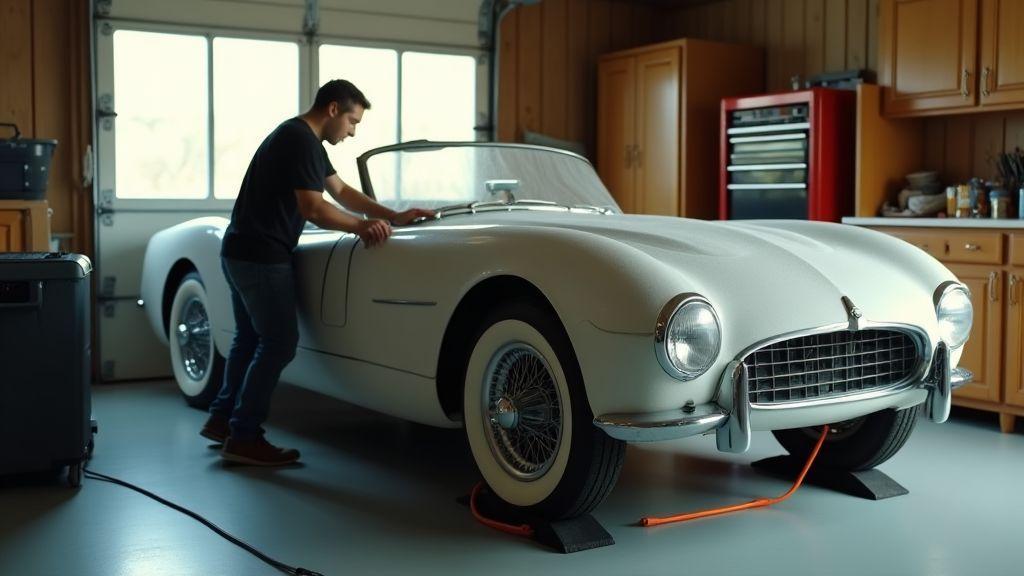
How to Store a Classic Car Properly (Long-Term Guide): start with car storage preparation you can do
How to Store a Classic Car Properly (Long-Term Guide) begins with simple prep you can do today. Choose a dry, secure spot and move the car there clean. Think of the car as someone going into hibernation: make it comfortable and safe.
Tackle mechanical basics: top off fluids, add a fuel stabilizer, and change the oil if due. Remove or fully charge the battery and either use a battery maintainer or disconnect the negative terminal to prevent drain.
Protect tires, seals, and metal. Inflate tires to the correct pressure and consider jacking the car or using tire cradles for very long storage. Place moisture absorbers around the car and check for pest entry points so mice don’t make a nest.
You should wash, dry, and wax to stop dirt and salt
Wash thoroughly to remove dirt, grime, and road salt—pay attention to wheel wells and the underside. Use a gentle car soap and a soft mitt. Dry fully with microfiber towels, then apply a quality wax or paint sealant to lock out moisture and reduce corrosion risk.
You should clean the interior and remove food to prevent mold
Empty glove box, trunk, and ashtrays of papers, wrappers, and crumbs. Vacuum carpets and vents and wipe hard surfaces. Treat leather and vinyl with conditioner and place desiccant packs inside to keep humidity low. Small steps now save big restoration bills later. For official guidance on moisture and mold risks, see Preventing mold and controlling cabin moisture.
Choose the right cover for your car storage needs
Pick a breathable, fitted cover that matches indoor or outdoor storage—lightweight fabric for indoors, weatherproof with UV protection for outdoors. Avoid plastic sheeting that traps moisture; a snug non-abrasive fit keeps dust off and protects paint.
Preventing rust in stored cars and moisture control in garage storage you can manage
Rust hides where you least expect it. Start by cleaning and drying every nook. Use a breathable car cover, put a barrier between the car and damp concrete, and ensure slight airflow. Seal obvious leaks in the garage roof or walls. Treat rust-prone seams and keep a routine for humidity control.
You can use dehumidifiers and silica to control moisture in garage storage
An electric dehumidifier sized for your space will cut condensation that causes rust. Place it away from walls and run it on a humidistat; empty the bucket or set up a drain. Silica gel packs and desiccant tubs are cheap, silent backups—drop them in the cabin, trunk, and under the hood and recharge or replace as advised.
You can apply rust inhibitors and undercoating for vulnerable metal
Rust inhibitors come in sprays, oils, and waxes—use them on seams, inside fender wells, and in drain holes. For the underside, consider rubberized undercoating to protect from chips and salt. Wire-brush and treat any visible rust first; for large jobs, a shop application lasts longer and looks neat.
Monitor humidity and ventilation regularly
Check a hygrometer weekly and aim for under 50% relative humidity. Crack a window or run a small fan occasionally to move air. Watch for puddles, dripping, or a cold, clammy smell—those are red flags.
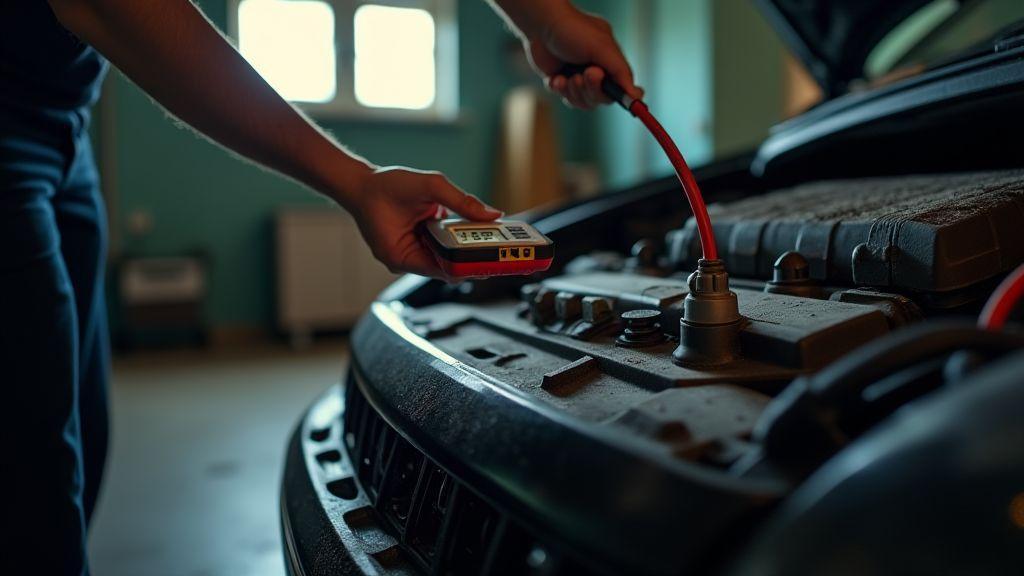
Battery maintenance for stored vehicles: keep your electrical system healthy
Keeping a battery healthy while your classic sits is simple: charge minus drain equals life. Batteries lose charge from small draws like clocks and alarms. A managed routine cuts that loss and keeps the car ready when you want to cruise. This is an important chapter in How to Store a Classic Car Properly (Long-Term Guide).
Treat the battery: clean terminals, check fluid in serviceable cells, and watch voltage. Small steps—checking connections, topping off distilled water if needed, and using a charger—save hours and money later.
You can use a smart trickle charger or remove the battery for long-term vehicle storage
A smart trickle charger (float/maintenance charger) monitors voltage, tops the battery when needed, and switches to a low float charge when full. Pick one compatible with lead-acid or AGM batteries and with automatic shutoff. For practical owner-focused instructions, consult Battery care and storage recommendations.
If removing the battery, store it in a cool, dry place on a non-metal surface and charge it every month or two. Label terminals and protect the posts. If left in the car, disconnect the negative terminal to prevent tiny drains from flattening it.
You should run electrical systems and start the car sometimes to keep parts active
Start the engine and run electrical systems long enough for the alternator to restore charge and for fluids to warm—10–20 minutes at operating temperature is a decent guideline. If you can, drive a short loop every few weeks to spin fluids, charge the battery fully, and exercise brakes and tires. If you can’t drive, at least run the engine and cycle accessories while checking for odd noises or leaks. Keep fuel stabilized.
Record a charging and test schedule you will follow
Write a simple log: date, battery voltage at rest, charger use, and actions like topping off water. Check weekly or biweekly and do a fuller test monthly to catch small problems early.
Tire care during storage and suspension tips to avoid damage
Tires can develop flat spots, crack, or age if left under load. Suspension and bushings may sag or dry out. Protect them by keeping tires at the recommended pressure, lifting the car on jack stands for very long storage, or moving the car periodically. For official safety and aging guidance, review Tire care and maintenance guidance.
You should inflate tires to the right pressure and check for flat spots
Inflate to the manufacturer’s recommended pressure and check monthly with a good gauge. Small flat spots often disappear after driving; large hard spots indicate damage and need inspection.
You can lift the car on jack stands or move it periodically to protect tires and suspension
Use solid frame points for stands and pads where needed. If stands aren’t possible, roll the car forward or backward a few feet every few weeks and reset the parking brake in a different position. Even short moves warm parts and keep seals and grease from drying out.
Inspect and rotate tires before you drive again
Before returning to the road, inspect for cracks, bulges, nails, and uneven wear. Inflate to proper pressure; replace old or damaged tires and have alignment checked for a smooth, safe first drive back.
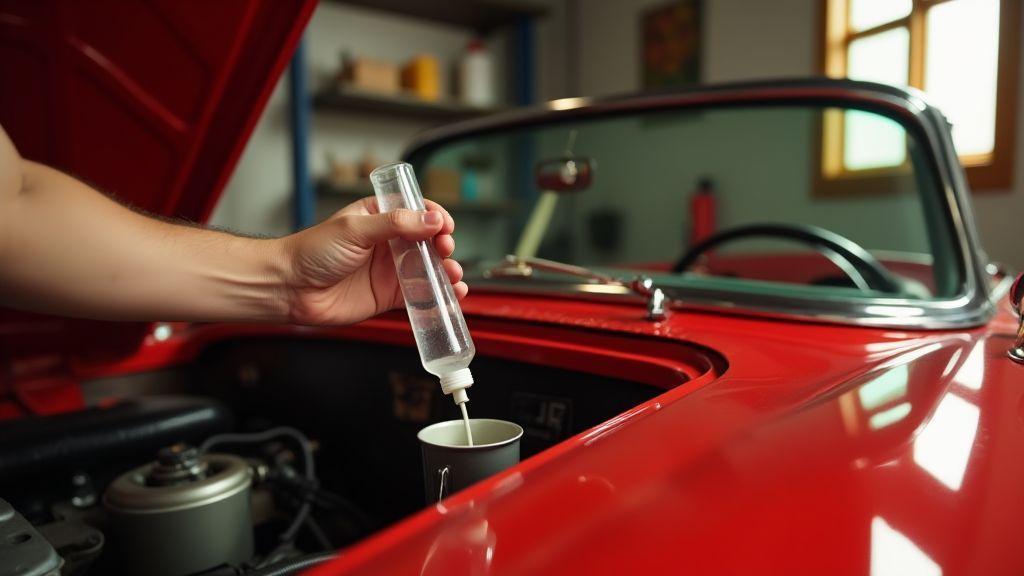
Fuel stabilization for classic cars and fluid care to prevent engine problems
Add a quality fuel stabilizer before storage and fill the tank to reduce air space and condensation. Ethanol-blended gas attracts water and can separate, leaving gummy deposits—use a stabilizer rated for alcohol-blended fuel and run the engine so treated fuel reaches the carburetor or injectors. For background on ethanol-blended fuels and storage implications, see Ethanol-blended fuel effects and storage guidance.
Old oil, dirty coolant, and stale brake fluid invite corrosion and wear while the car sits. Change oil and filter before storage; fresh coolant with proper inhibitors protects the block and radiator. Follow the service manual for concentrations and intervals.
You should add fuel stabilizer and fill the tank to limit air and condensation
Measure stabilizer per instructions and put it into a full tank so the treated fuel replaces the air pocket. After adding, run the engine to circulate treated fuel through the system and label the tank with date and product used.
You should change oil and coolant or follow maker guidance for long-term vehicle storage
Change oil and filter before storage to remove acids and contaminants. Use fresh coolant mixed to the correct concentration. Follow manufacturer guidance for storage-specific steps—factory recommendations match the car’s design and materials.
Drain or treat old gas if you expect very long storage
If gas is several months old or you plan to store a year or more, drain the tank or run the engine until empty and refill with fresh, treated fuel. Old varnished gas can clog carburetors and injectors.
Classic car storage security, pest prevention for stored vehicles, and simple preservation techniques
Treat security, pest control, and preservation as equal parts of your plan. A dry spot, breathable cover, and basic checks go a long way. Small upgrades like climate control or a gated facility can pay off for rare cars.
You can choose a secure facility, add insurance, and use alarms for classic car storage safety
Many owners prefer trusted local options; find trusted storage listings on our home page. A locked personal garage works for many cars. For extra peace of mind, choose a facility with gated access, cameras, and controlled entry. Carry agreed-value insurance for restoration costs and consult the facility’s terms of use and your insurer when arranging coverage. Add alarms or motion sensors you can check remotely, and be mindful of monitoring and privacy details listed in the facility’s privacy policy.
You should seal gaps, use traps, and keep the area clean to prevent pests in stored vehicles
Seal entry points with steel wool and foam, add door sweeps, and keep boxes and rags off the floor. Use snap traps or enclosed bait stations and natural deterrents (kept away from the car) as needed. Clean food and oil spills—tidiness deters pests and makes inspections easier.
Create a regular inspection and maintenance checklist you will use
Make a short weekly and monthly checklist you actually follow: check battery charge, tire pressure, fluid levels, cover fit; look for nests, chewed wires, or damp spots; run the engine or move the car monthly if possible; top up stabilizer and consider fogging oil for very long storage. Use a simple log or phone photos so you always know the last check date. If you want personalized advice or help locating secure storage, contact our team.
Conclusion
You’ve got a roadmap. Treat your classic like you would tuck someone in for a long winter: clean it—wash, dry, and wax—clear the cabin so mold and pests don’t move in, pick a breathable car cover, control humidity with a dehumidifier and silica, and coat vulnerable metal with rust inhibitors. Keep the battery happy with a smart charger or remove it, stabilize the fuel, change oil and coolant on a sensible schedule, and protect tires and suspension by keeping correct pressure, lifting on jack stands or rolling the car now and then. Lock down security, seal gaps against critters, and keep a simple checklist you actually follow.
Do these basics and months of storage become a small, steady investment—no drama, no big surprises. Little, consistent steps now save you time, money, and headaches later. For more practical tips on How to Store a Classic Car Properly (Long-Term Guide), explore our home page.