How to Choose the Right Home EV Charger for Your Car
How to Choose the Right Home EV Charger for Your Car is a concise roadmap to pick the right home charger for your vehicle and lifestyle. Start by checking your car’s port type and plug standard, match the charger to your onboard charging limits, and decide between Level 1 and Level 2 based on your schedule and home power. Learn basic power terms like kW and amps, do the simple math to estimate hours to full, plan for installation with panel checks and permits, and look for smart features like Wi‑Fi scheduling and energy‑aware charging. Follow safety codes and hire a licensed electrician so your install is safe and compliant.
Key Takeaway
- Pick a charger power that matches your car and how far you drive
- Make sure the charger plug fits your car
- Check your home’s electrical panel and hire an electrician to install
- Choose charging speed and smart features that fit your budget and routine
- Pick a charger with safety certifications and a good warranty

Home EV charger compatibility guide for your vehicle
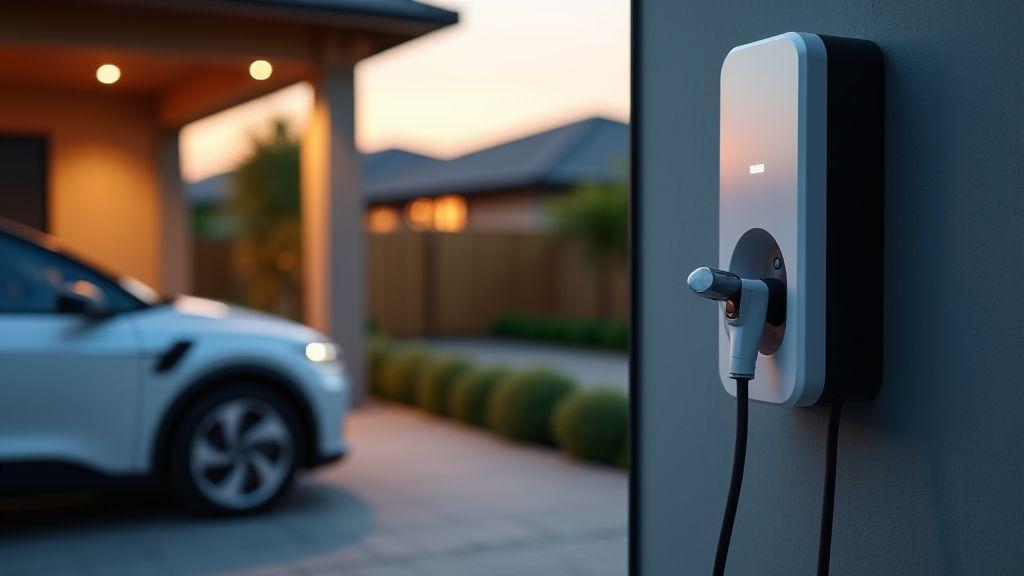
Choosing a home EV charger is like picking the right shoe for a long walk — the fit matters. How to Choose the Right Home EV Charger for Your Car helps you match the plug, the car’s onboard charger, and your home power so you don’t buy more than you need or end up short.
Look at three things in order: the plug shape, the onboard charger limit, and your home electrical capacity. The plug tells you what cable fits. The onboard charger — the box inside your car — sets the fastest AC speed your car can take. Your home panel and breaker decide if you can actually supply that speed. Match all three and charging will be smooth. For help identifying connector types, see Guide to EV charging connector types.
Costs and future needs matter. A stronger charger costs more now but may be useful if you swap cars or add a second EV. If you rent or have limited panel space, a lower‑power unit with smart scheduling can be smarter. Think of the charger as a tool; pick one that works with your car and daily routine.
Check your car’s port type and plug standard with simple labels
Find the charging port on your car and check the owner’s manual or the sticker inside the port cover. Tesla ports look different but adapters exist. In North America you’ll commonly see J1772 (Type 1); in Europe Type 2 (Mennekes) is common. Match that plug type to the charger cable or station you plan to buy.
Simple verification steps:
- Look at the charging port and note the shape
- Check the owner’s manual or VIN lookup for connector type and max AC kW
- Search your car model online with “charging port type”
- If Tesla, confirm whether you need an adapter for public chargers
| Plug type | Region most common | Typical use |
|---|---|---|
| J1772 (Type 1) | North America, Japan | AC Level 1 & 2 |
| Type 2 (Mennekes) | Europe | AC Level 2, sometimes DC with CCS Combo 2 |
| CCS Combo (Combo 1/2) | US / EU | Fast DC charging plus AC |
| CHAdeMO | Japan, some EVs globally | Older DC fast standard |
| Tesla proprietary | Global (Tesla vehicles) | AC and DC (Tesla network or adapters) |
Find the best home EV charger for your car by matching onboard charger limits
Your car’s onboard charger sets the ceiling for AC charging. If the onboard charger is 7 kW, a 7 kW home charger will charge at full speed; a 22 kW unit won’t go faster. Check the kW rating in the spec sheet or manual.
Also check your home’s electrical service. Single‑phase homes support a limited amperage per circuit; if your home can only provide 32 A on a circuit, that limits charger output. Look for adjustable output, Wi‑Fi scheduling, and load sharing if you plan to add another EV — these let you get the most from your panel without costly upgrades.
Confirm vehicle manufacturer specs and connector type before purchase
Double‑check manufacturer specs and connector type before buying. Use the VIN lookup, owner’s manual, or dealer to confirm onboard charger kW and the exact plug. A screenshot or quick call can save time and avoid returns.
Level 1 vs Level 2 home charger comparison to fit your daily routine
If your driving pattern is short trips and you park overnight, Level 1 charging (120V) can be a no‑fuss option, adding about 3–5 miles per hour. Level 2 (240V) fills the battery much faster — roughly 10–50 miles per hour depending on car and charger — and is better for longer commutes, multiple drivers, or quick top‑ups. You can also Compare Level 1 and Level 2 charging for details from the Department of Energy.
Think of Level 1 as a drip brewer that’s ready by morning and Level 2 as an espresso machine that gets you powered up fast. Match the charger to your routine and home power limits.
Understand Level 1 (120V) and Level 2 (240V)
- Level 1: Uses a regular outlet, ~1–2 kW, ~3–5 mi/hr, minimal installation
- Level 2: Requires a 240V circuit, ~3–11 kW (common home units), ~10–50 mi/hr, professional installation
Decide which fits your schedule and home power limits
Steps to decide:
- List daily miles and when the car is parked
- Check your electrical panel and consult an electrician
- Compare installation costs to convenience gained
| Charger Level | Voltage | Typical Power (kW) | Approx. Miles per Hour Added | Best For |
|---|---|---|---|---|
| Level 1 | 120V | ~1–2 kW | ~3–5 mi/hr | Overnight top‑ups, low daily miles |
| Level 2 (typical) | 240V | ~3–11 kW | ~10–50 mi/hr | Faster charging, longer commutes, shared cars |

EV charger power and charging speed explained to match battery needs
You look at battery size in kilowatt‑hours (kWh) and charger power in kilowatts (kW). A bigger charger delivers more kW and cuts charging time, but your car sets a limit. Your daily driving shapes what charger you need: 30 miles a day may be served by a modest 7 kW charger; 100 miles suggests a higher‑power charger or regular public DC charging.
High‑power chargers may require stronger breakers and thicker wire — costs that can exceed the charger price. Know your car’s limits before buying so you don’t overpay.
Learn kW, amps, and how your car’s onboard charger limits charging rate
kW = volts × amps ÷ 1000. Your circuit delivers voltage and max amps; the charger converts grid power to the right current, but the onboard charger caps AC speed. This is a core point of How to Choose the Right Home EV Charger for Your Car. For a concise technical summary of charging power and typical rates, see this Overview of EV charging power and rates.
Use vehicle range and battery to avoid overbuying power
Match charger power to daily range needs:
- Check your car’s max AC charging kW
- Note battery size (kWh) and typical daily miles
- Pick a charger that supplies enough overnight charge without overspending
Think about future changes (longer‑range car, solar). If upgrades are likely, plan wiring for higher capacity now, but don’t buy top‑tier units unless needed.
Do the simple math: battery kWh ÷ charger kW = hours to full
Example: 60 kWh ÷ 7 kW ≈ 8.5 hours (add ~10–15% for losses and tapering near full).
| Battery size (kWh) | 3.7 kW (hrs) | 7.0 kW (hrs) | 11 kW (hrs) | 22 kW (hrs) |
|---|---|---|---|---|
| 50 | 13.5 | 7.1 | 4.5 | 2.5 |
| 75 | 20.3 | 10.7 | 6.8 | 3.4 |
| 100 | 27.0 | 14.3 | 9.1 | 4.5 |
Home EV charger installation cost and requirements you should expect
Plan for three cost buckets: the charger unit, electrical work, and permits/inspections. A Level 2 hardwired charger is common for home installs because it reduces charge time significantly. The electrician will test your panel, run a dedicated circuit, mount the unit, and schedule inspection. Costs vary by house age, distance to garage, and local rules.
Location and wiring matter. Short runs close to the panel are cheaper; long runs, trenching, or detached garages add cost. Higher amperage chargers need thicker wire and larger breakers.
Permits usually take days to weeks depending on locality. Electricians often handle permits; ask for a clear timeline. For additional perspective on code and safety considerations, review NFPA guidance: Guidance on electrical codes and safety.
Check electrical panel capacity, circuit needs, and permit steps
Most Level 2 chargers need a 40–60 A dedicated circuit (typically using a 50–60 A breaker and 6 AWG copper wire). If your main panel has limited capacity (e.g., 100 A or full), a panel upgrade or subpanel may be required. The electrician will perform a load calculation.
Typical permit flow: confirm local code → apply for electrical permit → install → pass inspection. Inspectors check breaker size, wire gauge, grounding, and labeling.
Quick checklist for installation:
- Contact local building department for rules and fees
- Hire a licensed electrician to do the load check and pull permits
- Electrician installs wiring, breaker, and mounts charger
- Inspector verifies work and signs off
Estimate total cost range and when you may need a panel upgrade
Typical ranges:
- Level 2 charger unit: $300–$1,200
- Standard installation (short run): $300–$1,500
- Complex install (long run, conduit): $1,500–$4,000
- Panel upgrade: $1,000–$3,500
- Utility/meter upgrade: $1,500–$4,000
You’ll likely need a permit for a new circuit or hardwired device. Panel upgrades are required when spare amperage is insufficient or the panel is obsolete. Plan ahead if you expect to add faster chargers later.
| Component | Typical cost range | When required |
|---|---|---|
| Level 2 charger unit | $300–$1,200 | Always for faster charging |
| Standard install (short run) | $300–$1,500 | Panel has spare capacity |
| Complex install (long run, conduit) | $1,500–$4,000 | Detached garage, long distance |
| Panel upgrade | $1,000–$3,500 | Low or full panel capacity |
| Utility/meter upgrade | $1,500–$4,000 | Service capacity limits charging |
Get written quotes from a licensed electrician and list required permits
Get at least three written, itemized quotes showing parts, labor, permit fees, timelines, and warranty terms. Confirm the electrician’s license number and insurance. Ask who pulls the permit and how inspection is scheduled. Required documents often include an electrical permit, possibly a building permit, utility notification for service upgrades, and HOA approval where applicable.
If you need help locating a qualified installer or have questions about permits, contact our team for guidance on next steps and local resources.

Smart home EV charger features and benefits for control and savings
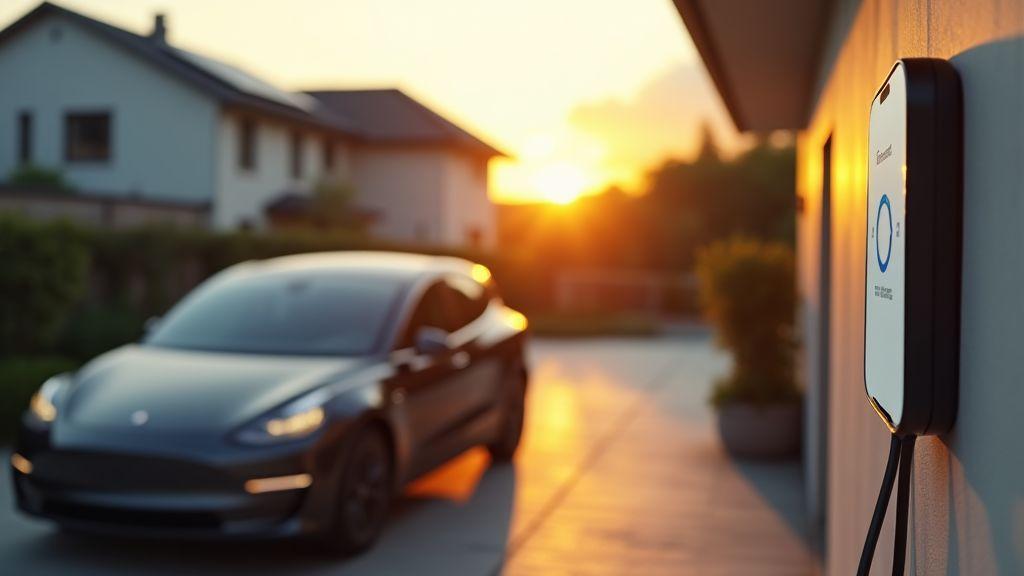
Smart chargers offer scheduling, real‑time energy monitoring, remote start/stop, and alerts. They let you charge during low‑cost windows and reduce idle charging. Many support load sharing, solar integration, and utility programs, which can save money and prevent panel overloads.
A simple selection plan:
- Confirm connector and power level (Level 1, Level 2)
- Check network, app, and utility/rebate support
- Choose an app and scheduling features you’ll actually use
How Wi‑Fi scheduling, app control, and energy‑aware charging work
Wi‑Fi scheduling lets you pick times to charge and set repeating schedules. Energy‑aware charging adjusts based on grid signals or solar output, increasing draw when power is cheap or abundant and reducing it during peak demand.
Use smart charging to lower bills with TOU rates and load management
Smart chargers can shift charging to time‑of‑use (TOU) low‑rate windows. Load management balances power among multiple EVs or heavy appliances to avoid upgrades and tripped breakers. Look for chargers that support OCPP; learn more about Open standards for smart charging (OCPP) to access rebates and advanced features.
| Feature | Why it matters |
|---|---|
| Wi‑Fi / Ethernet | Reliable connection for schedules and updates |
| OCPP / Open standards | Lets you switch apps or integrate with third‑party systems |
| Utility / Rebate support | Saves money upfront and on monthly bills |
Home EV charger safety codes and permits to protect your property
How to Choose the Right Home EV Charger for Your Car starts with knowing local codes. Follow electrical codes and permit rules to protect your home, family, and wallet. Skipping permits or using improper gear risks fires, trips, and insurance denial.
Codes vary by jurisdiction; many follow the National Electrical Code (NEC) with local tweaks. Call your building department first to avoid surprises. You may also want to review our site terms of use for general guidance on content and liability.
Follow local codes, inspections, and required permits before installing
You usually need a permit for a Level 2 charger or any wiring change. The inspection verifies proper wiring, grounding, breaker sizing, and routing. If issues arise, corrections and re‑inspection are required. Final sign‑off is often needed for insurance coverage.
Steps to comply:
- Contact local building department for EV charger permit rules
- Submit installer plans or permit application
- Pay permit fee and schedule the work
- Electrician completes wiring and calls for inspection
- Get final inspection approval and keep paperwork
Use a licensed electrician and certified equipment to meet safety standards
Hire an electrician experienced with EV chargers. A pro will perform load calculations, install the correct breaker, and wire to code. Buy chargers with recognized safety listings (e.g., UL in the U.S.) and ask the installer for product datasheets and proof the unit matches your home’s voltage.
Keep documentation of permits, inspections, and installer credentials
Store permit approvals, inspection reports, electrician license, receipts, and equipment manuals. Keep digital scans and a paper copy. These documents help with future service, insurance claims, and when selling your home. For details on how we handle personal information you upload, review our privacy policy.
Quick Checklist: How to Choose the Right Home EV Charger for Your Car
- Verify your car’s connector type and max AC kW (owner’s manual or VIN lookup)
- Decide Level 1 vs Level 2 based on daily miles and parking window
- Check main panel capacity; consult a licensed electrician for a load calculation
- Get three written installation quotes that include permits and timelines
- Choose a smart charger if you want TOU savings, load management, or solar integration
- Ensure equipment is certified and keep all permit/inspection paperwork
Conclusion
You now have a clear roadmap to pick the right home EV charger. Match plug compatibility, your car’s onboard charger limit, and your home electrical capacity. Do the simple math (battery kWh ÷ charger kW) so you don’t overbuy power. Choose Level 1 for simple overnight top‑ups or Level 2 for faster, more flexible charging. Factor in installation costs, possible panel upgrades, and the value of smart features like Wi‑Fi scheduling and load management.
Put safety first: hire a licensed electrician, pull permits, and use certified equipment. Keep all documentation — permits, inspection reports, and installer credentials — in a safe place. How to Choose the Right Home EV Charger for Your Car is about matching compatibility, cost, and convenience so your charging is efficient and stress‑free.
Want more practical guides and checklists? Browse our home guide collection.

